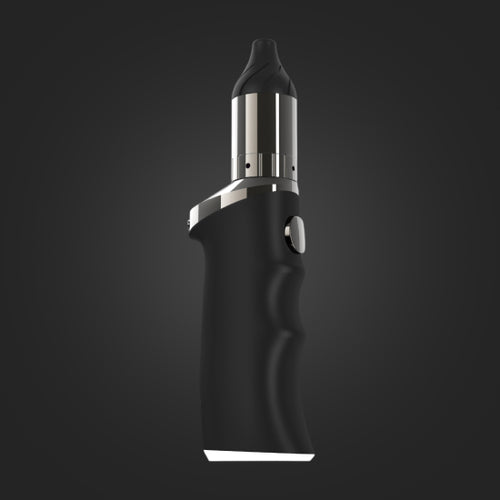
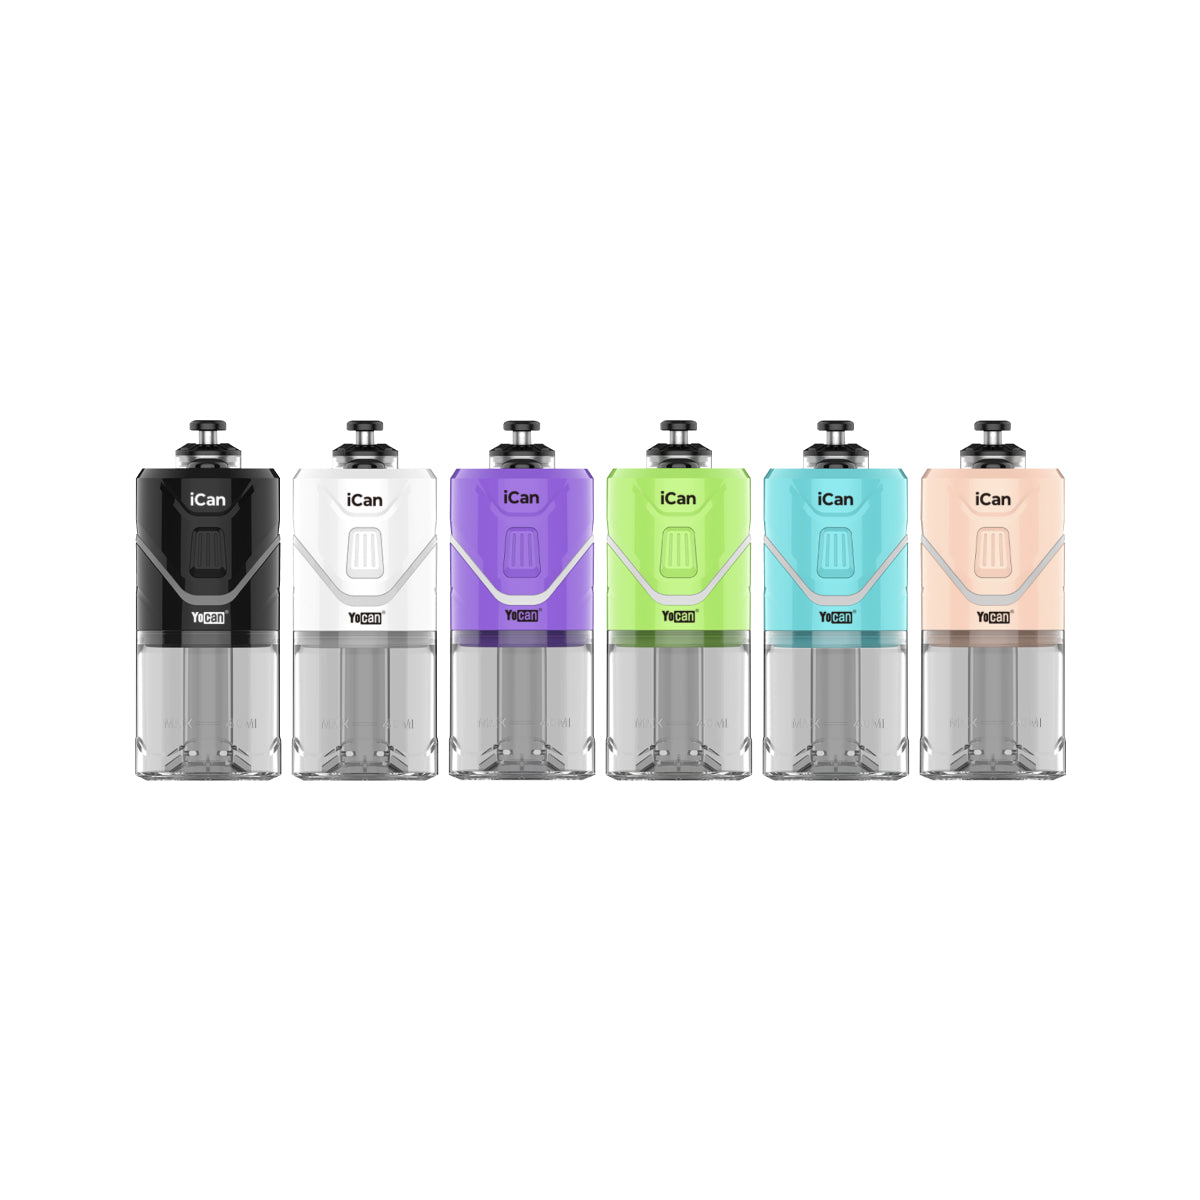
Yocan iCan e-Rig Vaporizer Manual
Charging the Yocan iCan e-Rig Vaporizer
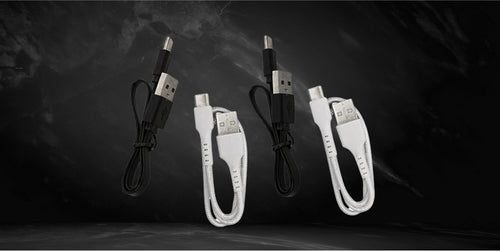
- Make sure to use the USB type-C charging cable included in the packaging of the Yocan iCan e-Rig Vaporizer.
- Connect the USB charging cable to a wall adapter and plug the wall adapter to a wall outlet.
- Take the other end of the charging cable and connect it to the Yocan iCan e-Rig Vaporizer.
Note: You can connect the charging cable to your computer or any compatible USB port to charge the Yocan iCan e-Rig Vaporizer. The changing port is located at the bottom part of the coil light button.
Turning the Yocan iCan e-Rig Vaporizer On
- Make sure to fully charge the Yocan iCan e-Rig Vaporizer for best results.
- Press the power button of the Yocan iCan e-Rig Vaporizer five times quickly to power it on.
- Press the same power button for another five times to power the Yocan iCan e-Rig Vaporizer off.
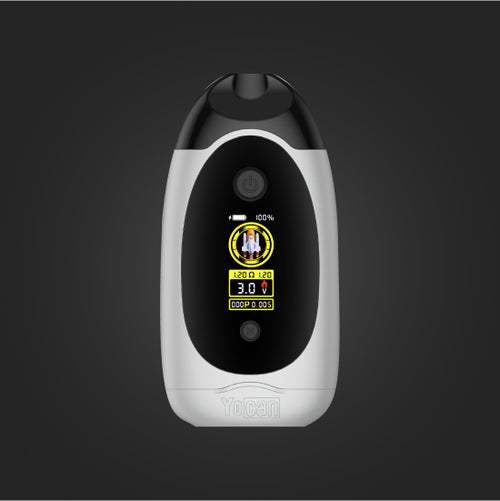
Note: The power button is located at the front of the Yocan iCan e-Rig Vaporizer. It is the rectangular button with grooves and sits in between the iCan branding and the Yocan logo.
Loading the Yocan iCan e-Rig Vaporizer
- Remove the atomizer cab or atomizer tube of the Yocan iCan e-Rig Vaporizer.
- With coil exposed, simply drop a dollop of wax concentrates onto the QBC Coil.
- Replace the atomizer cab or atomizer tube of the Yocan iCan e-Rig Vaporizer.
Selecting the Temperature Level for the Yocan iCan e-Rig Vaporizer
- Make sure that the Yocan iCan e-Rig Vaporizer is powered on.
- Select your preferred temperature level by pressing the power button three times.
- Release the button when you have decided on the temperature level you want.
Note: The Yocan iCan e-Rig Vaporizer has two preset temperature levels. They are low and high, respectively.
Replacing the water of the Yocan iCan e-Rig Vaporizer
- Remove the top part of the Yocan iCan e-Rig Vaporizer.
- Remove the water in the glass bubbler.
- Replace the water to desired amount.
- Replace the top part of the Yocan iCan e-Rig Vaporizer.
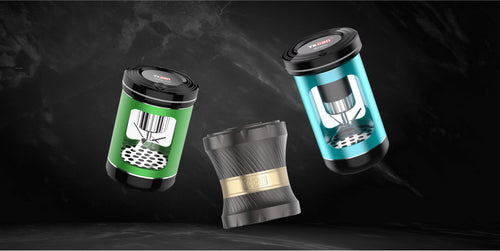
Replacing the coil of the Yocan iCan e-Rig Vaporizer
- Remove the top part of the Yocan iCan e-Rig Vaporizer.
- Make sure that the coil has cooled down.
- Untwist the coils from the 510-threaded link.
- Take the new QBC Coil and twist it onto the 510-threaded connector.
- Replace the top part of the Yocan iCan e-Rig Vaporizer.
Note: Remove the coil by twisting it counterclockwise. When tightening the coil and twisting it clockwise, avoid applying too much pressure when you feel resistance. Overtightening the coil might cause the threaded links to become loose.
Maintenance and cleaning of the Yocan iCan e-Rig Vaporizer
- Make sure to remove the coil of the Yocan iCan e-Rig Vaporizer.
- Turn off the Yocan iCan e-Rig Vaporizer by pressing the power button five times rapidly.
- Take a cotton swab and wipe the coil contacts clean.
- Use a dry paper towel and wipe the body of the Yocan iCan e-Rig Vaporizer clean. Do the same for the glass bubbler and avoid storing it moist.
- Follow the charging instruction and use the dedicated charging cable for the Yocan iCan e-Rig Vaporizer to avoid battery damage.
- Make sure to charge the Yocan iCan e-Rig Vaporizer before storing it too long.
Note: Make sure to keep the parts dry before storing as it may cause mold buildup and may have negative effects if used with molds. Use a dry paper towel or paper cloth after wiping the parts with a damp material.