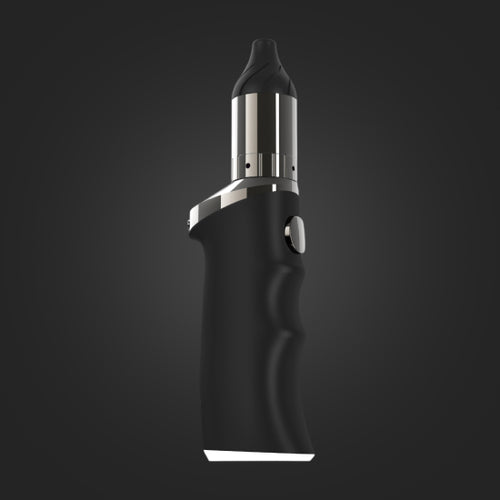
Yocan Iris Wax Vaporizer Manual

Charging the Yocan Iris Wax Vaporizer
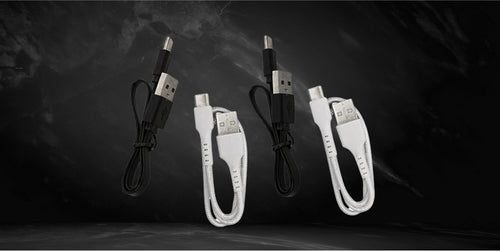
- Make sure to use the USB type-C charging cable included in the packaging of the Yocan Iris Wax Vaporizer.
- Connect the USB charging cable to a wall adapter and plug the wall adapter to a wall outlet.
- Take the other end of the charging cable and connect it to the Yocan Iris Wax Vaporizer.
Note: You can connect the charging cable to your computer or any compatible USB port to charge the Yocan Iris Wax Vaporizer. The changing port is located at the bottom of the vaporizer. When charging, it is recommended that you clean the heating element as the wax or oil might leak when the device is lying down.
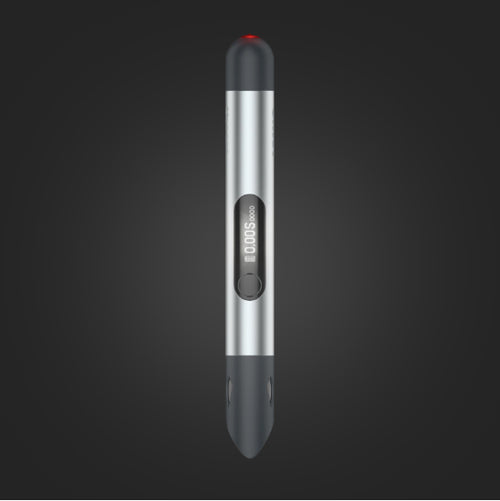
Turning the Yocan Iris Wax Vaporizer On
- Make sure to fully charge the Yocan Iris Wax Vaporizer for best results.
- Press the power button of the Yocan Iris Wax Vaporizer five times quickly to power it on.
- Press the same power button for another five times to turn the Yocan Iris Wax Vaporizer off.
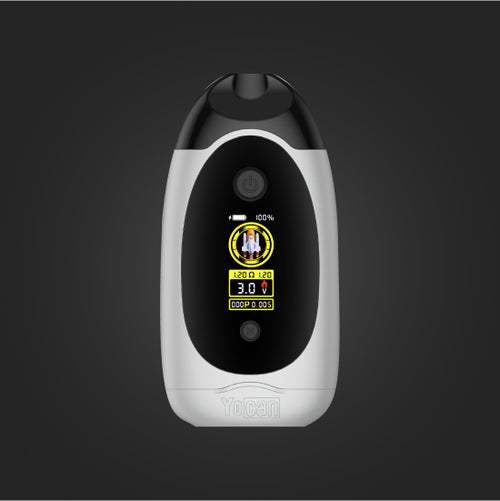
Note: The power button is located at the front part of the Yocan Iris Wax Vaporizer. It is the large circular button which is located just above the digital screen.
Loading the Yocan Iris Wax Vaporizer
- Make sure that the Yocan Iris Wax Vaporizer is powered on.
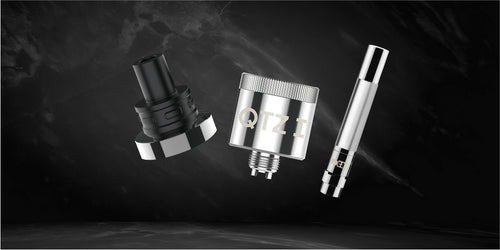
- Lift the magnetic mouthpiece to expose the heating element.
- Use a dab tool to scoop your concentrates and place them inside the chamber.
- Set the magnetic mouthpiece back into place.
- Selecting the Temperature Level for the Yocan Iris Wax Vaporizer
- Make sure that the Yocan Iris Wax Vaporizer is powered on.
- Select your preferred temperature level by pressing the plus button to increase the temperature.
- Conversely, you can press the minus button to decrease the temperature level.
- After you have selected your preferred temperature level, simply release the button.
Note: The Yocan Iris Wax Vaporizer has precise temperature settings that range from 2.5 V to 4.2 V.
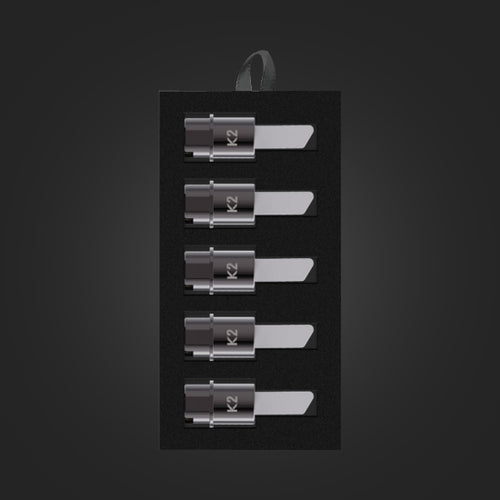
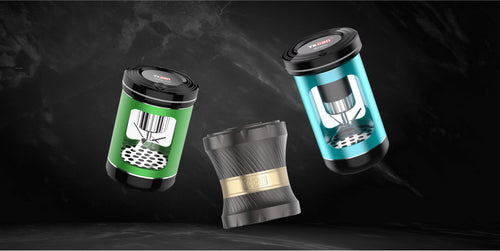
Replacing the Yocan Quartz Coil
- Make sure the Yocan Iris Wax Vaporizer is powered off.
- Remove the magnetic mouthpiece by pulling it away from the magnetic base.
- Twist the quartz coil counterclockwise.
- Get a new quartz coil and be ready to replace the old one.
- Set the new quartz coil and twist it clockwise.
- Replace the mouthpiece and wait for the magnetic connection to snap back in place.
Note: Stop tightening the coil when you feel significant resistance. This might cause the threads to become loose, rendering the vaporizer useless. Also, you may dry burn the coil to remove any leftover impurities. Do not overdo dry burning as it may damage the coil.
Maintenance and cleaning of the Yocan Iris Wax Vaporizer
- Make sure to remove the coil of the Yocan Iris Wax Vaporizer.
- Turn off the Yocan Iris Wax Vaporizer by pressing the power button five times rapidly.
- Take a cotton swab and wipe the 510-threaded contacts clean.
- Use a dry paper towel and wipe the body of the Yocan Iris Wax Vaporizer clean.
- Follow the charging instruction and use the dedicated charging cable for the Yocan Iris Wax Vaporizer to avoid battery damage.
- Make sure to charge the Yocan Iris Wax Vaporizer before storing it too long.
Note: Make sure to keep the parts dry before storing as it may cause mold buildup and may have negative effects if used. Use a dry paper towel or paper cloth after wiping the parts with a damp material, so as not to allow molds to develop on the device.