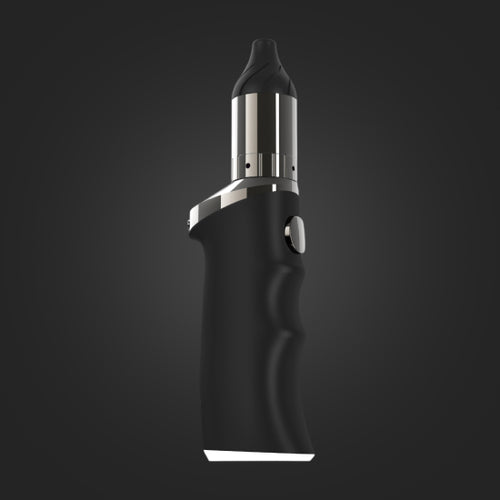
Yocan Pillar E-Rig Manual
Charging the Yocan Pillar Smart e-Rig
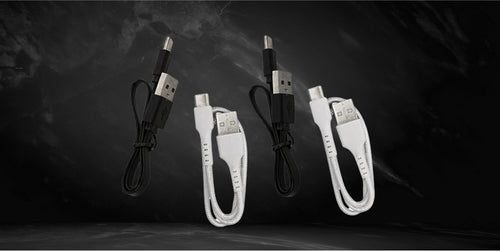
- Take the USB type-C charging cable included in the packaging.
- Connect it to the Yocan Pillar Smart e-Rig battery.
- Get a compatible wall adapter.
- Plug the wall adapter to a wall socket.
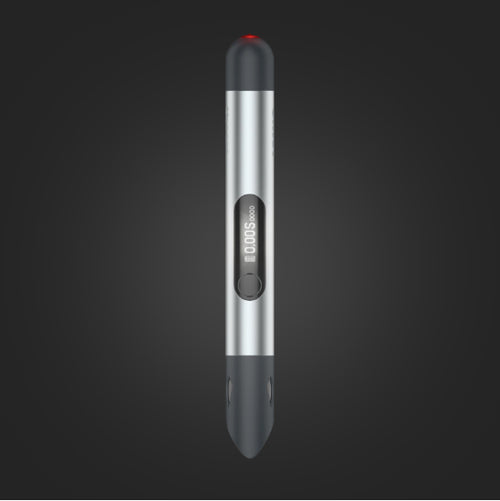
Note: The recommended charging time for the Yocan Pillar Smart e-Rig is about two hours. The charging port is located at the bottom part of the battery just right above the “PILLAR” branding. If you can’t find a wall adapter, you can plug the Yocan Pillar Smart e-Rig on your computer.
Preparing the Yocan Pillar Smart e-Rig
- Make sure to fully charge the Yocan Pillar Smart e-Rig.
- When you have fully charged the battery, you can turn the Yocan Pillar Smart e-Rig on by pressing the power button five times rapidly.
Note: Pressing the power button five times when powered on will cause it to turn off.
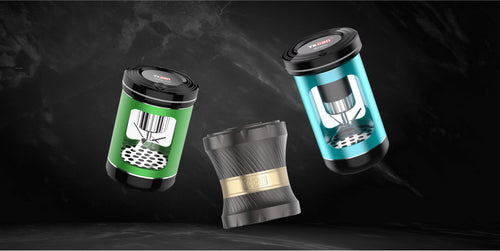
Loading the Yocan Pillar Smart e-Rig
- Prepare your select wax concentrates before using the Yocan Pillar Smart e-Rig.
- Remove the glass bubbler by pulling it away from the Yocan Pillar Smart e-Rig base.
- Scoop up your wax concentrates using the included dab tool.
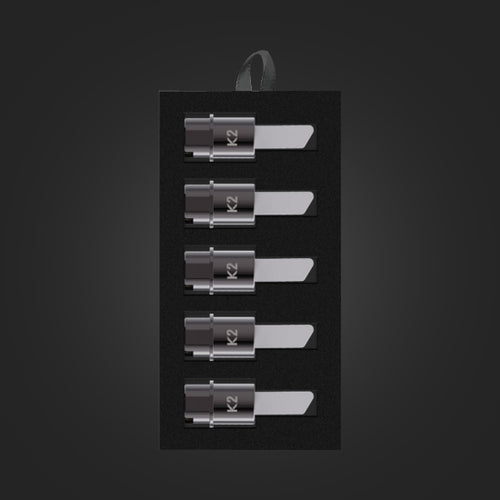
- Place them on the TGT Coil (or TGT Quad Coil) using the dab tool.
- Replace the glass bubbler by allowing the magnetic connection to lock onto each other.
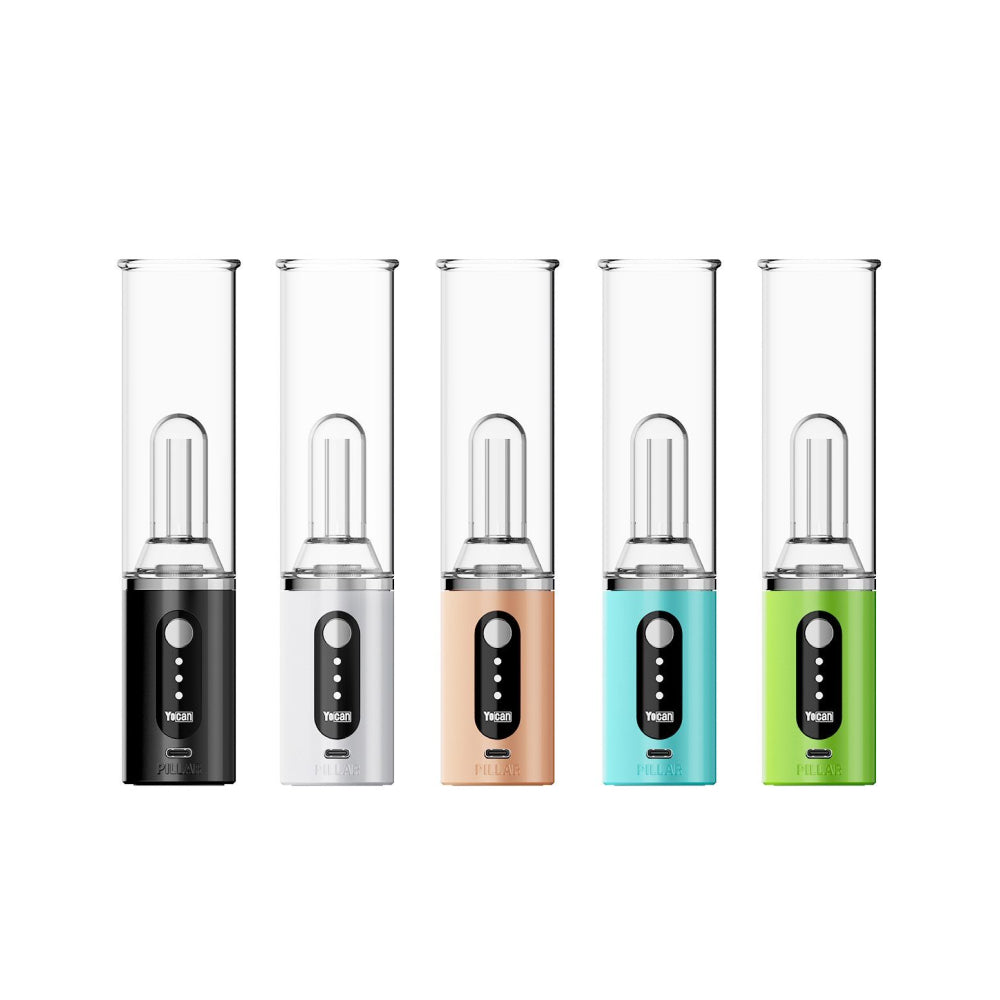
Filling the Yocan Pillar Smart e-Rig Glass Bubbler with Water
- Remove the glass bubbler of the Yocan Pillar Smart e-Rig from the zinc alloy metal base.
- Search of the water line on the glass piece, which can be found on top of the hole.
- Carefully fill it with water only up until the prescribed water line.
- Wipe any water off the glass bubbler before putting it back on the Yocan Pillar Smart e-Rig zinc alloy metal body.
- Gently connect the glass bubbler to the base of the e-Rig.
Selecting the Yocan Pillar Smart e-Rig Temperature Levels
- Make sure to fully charge the Yocan Pillar Smart e-Rig.
- Power the Yocan Pillar Smart e-Rig by pressing the power button five times rapidly.
- When turned on, press the power button three times to toggle through the available voltage settings.
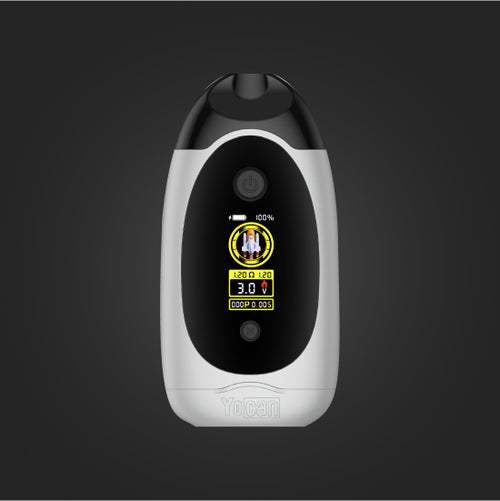
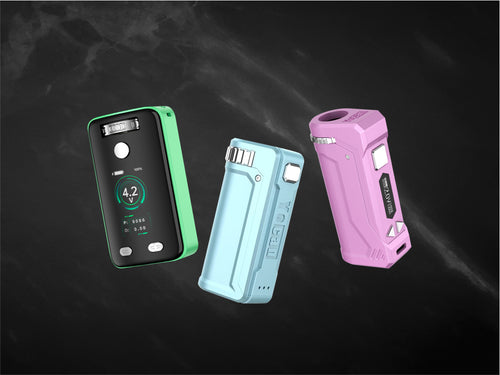
Yocan Pillar Smart e-Rig Voltage Levels
- Low – 3.2 Volts (One light)
- Medium – 3.7 Volts (Two lights)
- High – 4.2 Volts (Three lights)
Adjusting the Yocan Pillar Smart e-Rig Airflow
- Locate the Yocan Pillar Smart e-Rig airflow adjustment tool found on the side of the device.
- Sliding the tool over will close the airflow valve. (This will restrict the airflow on the Yocan Pillar Smart e-Rig, a restricted airflow will make the vapors warm but increase the flavor and potency).
- Sliding the tool to the other side will allow more air to pass through. (An unrestricted airflow will make the vapors cooler, but may water down the flavor and potency).
Adjusting the Yocan Pillar Smart e-Rig Airflow
- Make sure to fully charge the Yocan Pillar Smart e-Rig.
- Turn on the Yocan Pillar Smart e-Rig by pressing the power button quickly five times.
- Press the power button two times quickly to start Auto Mode.
- Press and hold the power button to start On Demand Mode.
Note: Auto Mode will cause the Yocan Pillar Smart e-Rig to heat up using the selected temperature level for 30 seconds. In On Demand Mode, the Yocan Pillar Smart e-Rig will heat up for as long as you hold the power button (30 second cut off will apply).
Care and Maintenance of the Yocan Pillar Smart e-Rig
- Make sure to power the Yocan Pillar Smart e-Rig off.
- Remove the glass bubbler and clean it with warm water. You may use your cleaning solution of choice.
- Perform a burn-off by pressing activating On Demand Mode for two to three seconds. (This will melt any leftover material on the coil).
- Get a dry paper towel or a cloth to clean the Yocan Pillar Smart e-Rig's zinc alloy body.
- Allow the parts to dry out before assembling them back together.
- Avoid draining the battery if storing the Yocan Pillar Smart e-Rig for a long time.