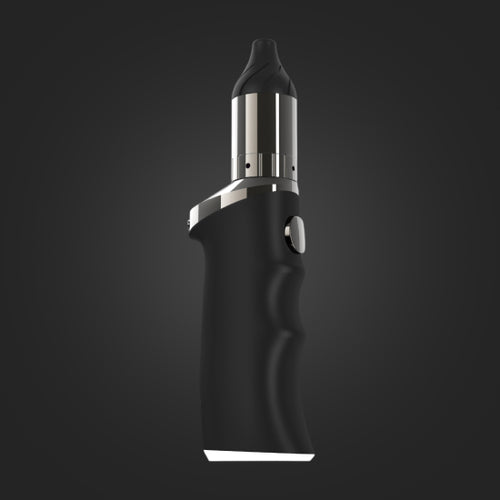
Yocan Stix Plus Vaporizer Manual
Preparing the Yocan Stix Plus Vaporizer
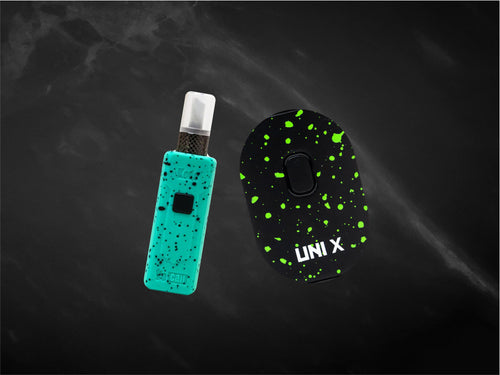
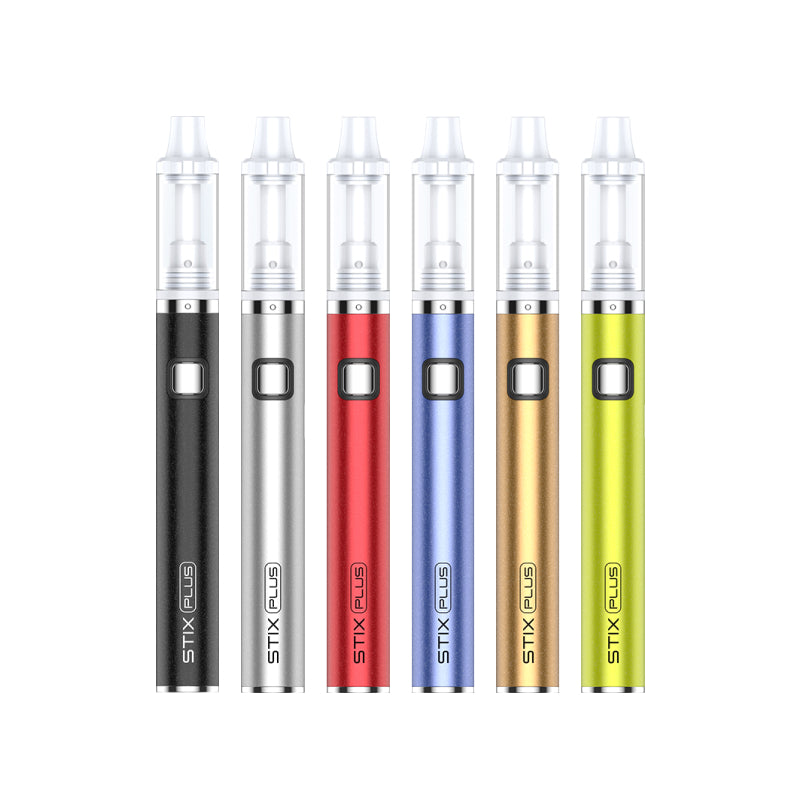
Note: The power button is located at the upper part of the battery facing outwards and is the box shaped / square button on the vaporizer battery. Perform sterilization during the first time you receive your Yocan Stix Plus Vaporizer. This will eliminate and get rid of any impurities that might have made its way to the heating chamber during the manufacturing process.
- The first step is to charge your Yocan Stix Plus Vaporizer before use.
- After charging the battery, continue by powering the Yocan Stix Plus Vaporizer on by pressing the power button five times.
- Once the Yocan Stix Plus Vaporizer is powered on you can begin the sterilization process. You can sterilize the atomizer by pressing and holding the power button for three to five seconds once or twice.
- After sterilizing the ceramic heating element, let the Yocan Stix Plus Vaporizer rest and sit for about two to three minutes. After so, you can begin loading your select oils on the Yocan Stix Plus Vaporizer.
Loading the Yocan Stix Plus Vaporizer
Note: You can use a unicorn bottle when loading the Yocan Stix Plus Vaporizer to avoid spillage when putting oils on the Yocan Stix Plus Vaporizer’s ceramic oil chamber.
- If it’s the first time you’re using your Yocan Stix Plus Vaporizer, be sure to sterilize it first.
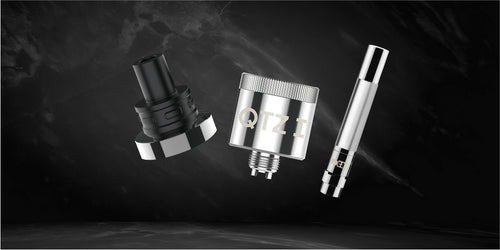
- Remove the ceramic mouthpiece from the Yocan Stix Plus Vaporizer by twisting it counterclockwise. This will disconnect the ceramic mouthpiece from the threaded connection of the ceramic central post which keeps the mouthpiece components together.
- Use your preferred loading tool (we recommend using a unicorn bottle or a funnel) to load your select essential oils to the oil chamber of the Yocan Stix Plus Vaporizer.
- Wait for several seconds to allow the oil to sit and saturate the chamber.
- Replace the Yocan Stix Plus Vaporizer’s ceramic mouthpiece by twisting the mouthpiece clockwise.
Charging the Yocan Stix Plus Vaporizer
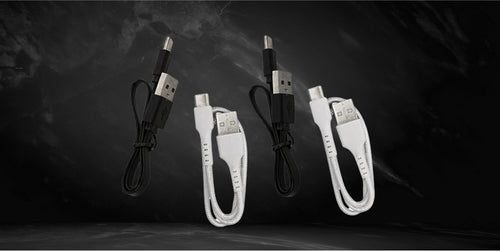
Note: The Yocan Stix Plus Vaporizer does not come with a USB-C charging cable and you should supply your own. Similarly, it does not come with a wall adapter, so it is important that you use your own. It can accept standard smartphone wall adapters and smartphone USB-C charging cables.
- Take your preferred USB-C charging cable and connect it to a wall adapter and plug it on a wall outlet. Alternatively, you can connect the USB-C charging cable to a USB port in your computer or your laptop.
- Connect the charging cable to the charging port found on the side of the Yocan Stix Plus Vaporizer battery.
- Allow the battery to recharge and remove the charging cable once the charging is complete.
Vaping with the Yocan Stix Plus Vaporizer
- Ensure that your Yocan Stix Plus Vaporizer is completely charged, sterilized, and is loaded with your favorite oils before you begin your vaping session.
- Next, ensure that the Yocan Stix Plus Vaporizer is loaded and press your lips onto the mouthpiece and prepare to draw or inhale.
- Press and hold the power button. When the Yocan Stix Plus Vaporizer starts making vapors inhale from the mouthpiece.
- Repeat this process as necessary or as the oils in the ceramic chamber are fully consumed.
Changing the Voltage Setting of the Yocan Stix Plus Vaporizer
Note: Make sure that the Yocan Stix Plus Vaporizer is powered on.
- Press the power button on the Yocan Stix Plus Vaporizer three times to change the temperature setting.
- Release the button of the Yocan Stix Plus Vaporizer to activate your preferred voltage level.
Yocan Yocan Stix Plus Vaporizer Voltage Levels
- 3.0 volts – White Light
- 3.5 volts – Blue Light
- 4.2 volts – Green Light
Activating the Pre-heat Setting of the Yocan Stix Plus Vaporizer
Note: Make sure that the Yocan Stix Plus Vaporizer is powered on. Pre-heat setting will allow the Yocan Stix Plus Vaporizer to heat up the ceramic atomizers at a low voltage setting of 1.8 volts for about 10 seconds.
- Press the power button of the Yocan Stix Plus Vaporizer two times when powered on.
- Press the pow2er button of the Yocan Stix Plus Vaporizer twice again to cancel the pre-heat setting.
Care and Maintenance of the Yocan Stix Plus Vaporizer
The Yocan Stix Plus Vaporizer was made with few parts which makes it easy to clean and to maintain, despite its disposable nature. Likewise, having fewer parts to work with makes your vaporizer more robust and more durable. To keep your Yocan Stix Plus Vaporizer clean and in good working condition and extend its lifespan before you need to dispose it, follow the steps below.
- Tap the power button five times to power the Yocan Stix Plus Vaporizer on. Five more clicks will turn the Yocan Stix Plus Vaporizer off.
- Turn the Yocan Stix Plus Vaporizer upside down.
- Conduct a burn-off by pressing and holding the power button for three to five seconds. Repeat this process once or twice. Doing so will melt any residue making the cleaning process easy.
- Let the Yocan Stix Plus Vaporizer cool down.
- Dismantle the Yocan Stix Plus Vaporizer by unscrewing and by twisting the threaded connections counter clockwise.
- Remove any liquid residue on the Yocan Stix Plus Vaporizer using a dry paper towel and proceed with reassembling the Yocan Stix Plus Vaporizer.